
In this week's episode of 2-Minute Tech Tuesday, we're showing you how to run Varnish in the cloud on Amazon Web Services using the official Varnish Enterprise machine image.
Last week's 2-Minute Tech Tuesday introduced Varnish Cloud. That episode covered the what and the why of running Varnish in the cloud. This episode dives into the how.
How it works
1. The installation procedure starts by launching a new instance in your AWS console. Instead of picking a regular image, go to the marketplace and type in Varnish Enterprise.
2. Select Varnish Enterprise 6.0 for Ubuntu or Red Hat.
The video is based on the Ubuntu image, but the installation instructions for Red Hat are nearly identical. 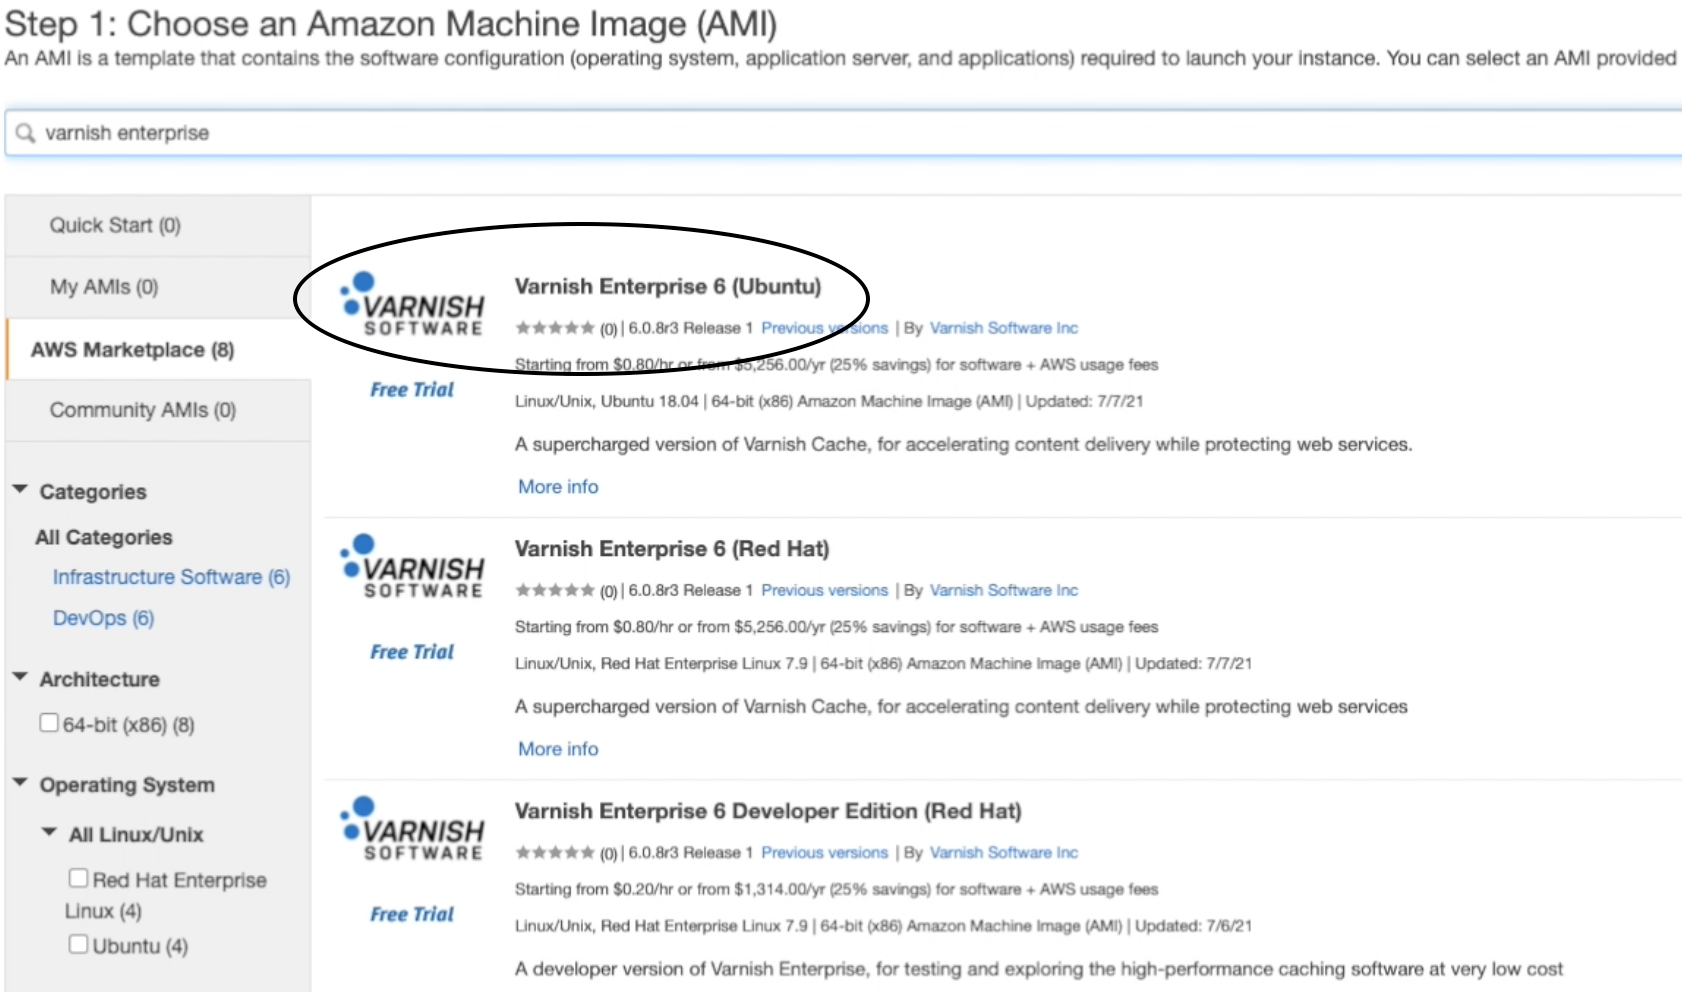
3. After selecting the image, you'll get an overview of the license and infrastructure cost per hour, based on the instance type.
4. Choose the instance type.
In the video we selected the t3.large instance type.
5. Continue through the install wizard and add a tag with an easily identifiable name. Continue on to the firewall setup where you'll get standard ports you need already set up by the image.
6. Create a new SSH key, which you'll use to authenticate when logging in via SSH. Launch the instance and minutes later, you'll have a full blown Varnish Enterprise server.
7. Select it and open up the IP address via HTTP to get your landing page. This will contain a link to an instruction guide containing all the information on how to use it. 
8.Log in via the command line, using the SSH command. Use the freshly created varnish key for authentication and connect using the IP address. Ubuntu is the username.
9. Open etc/varnish/default.vcl to edit the VCL code and remove some placeholder codes that display the landing page. Change the IP address to the IP address of your actual web server, and the port of your web server.
Depending on your application, you may need to tune the VCL code to ensure that the right pages are cached.
10. Close the file and edit the varnishd runtime parameters by running sudo systemctl edit varnish
11. Close the editor and restart Varnish by running sudo systemctl restart varnish
12. Now you can refresh the page to see the cached version of your web platform.
That's it! It's just a matter of finding the right image in the marketplace and spinning up the machine to have a full-blown, Varnish Enterprise Server that is pre-installed and pre-configured.


