
This week’s episode of Two Minute Tech Tuesday demonstrates how to run Varnish on the Digital Ocean cloud by using the official Varnish Cache image on the Digital Ocean marketplace.
This tutorial is going to be slightly different from the others in the series because it revolves around official marketplace images, and the Digital Ocean marketplace is not monetized. That means we're not offering a pay-as-you-go version of Varnish Enterprise. Instead, we offer a pre-installed, pre-configured version of Varnish Cache.
How to install Varnish on Digital Ocean
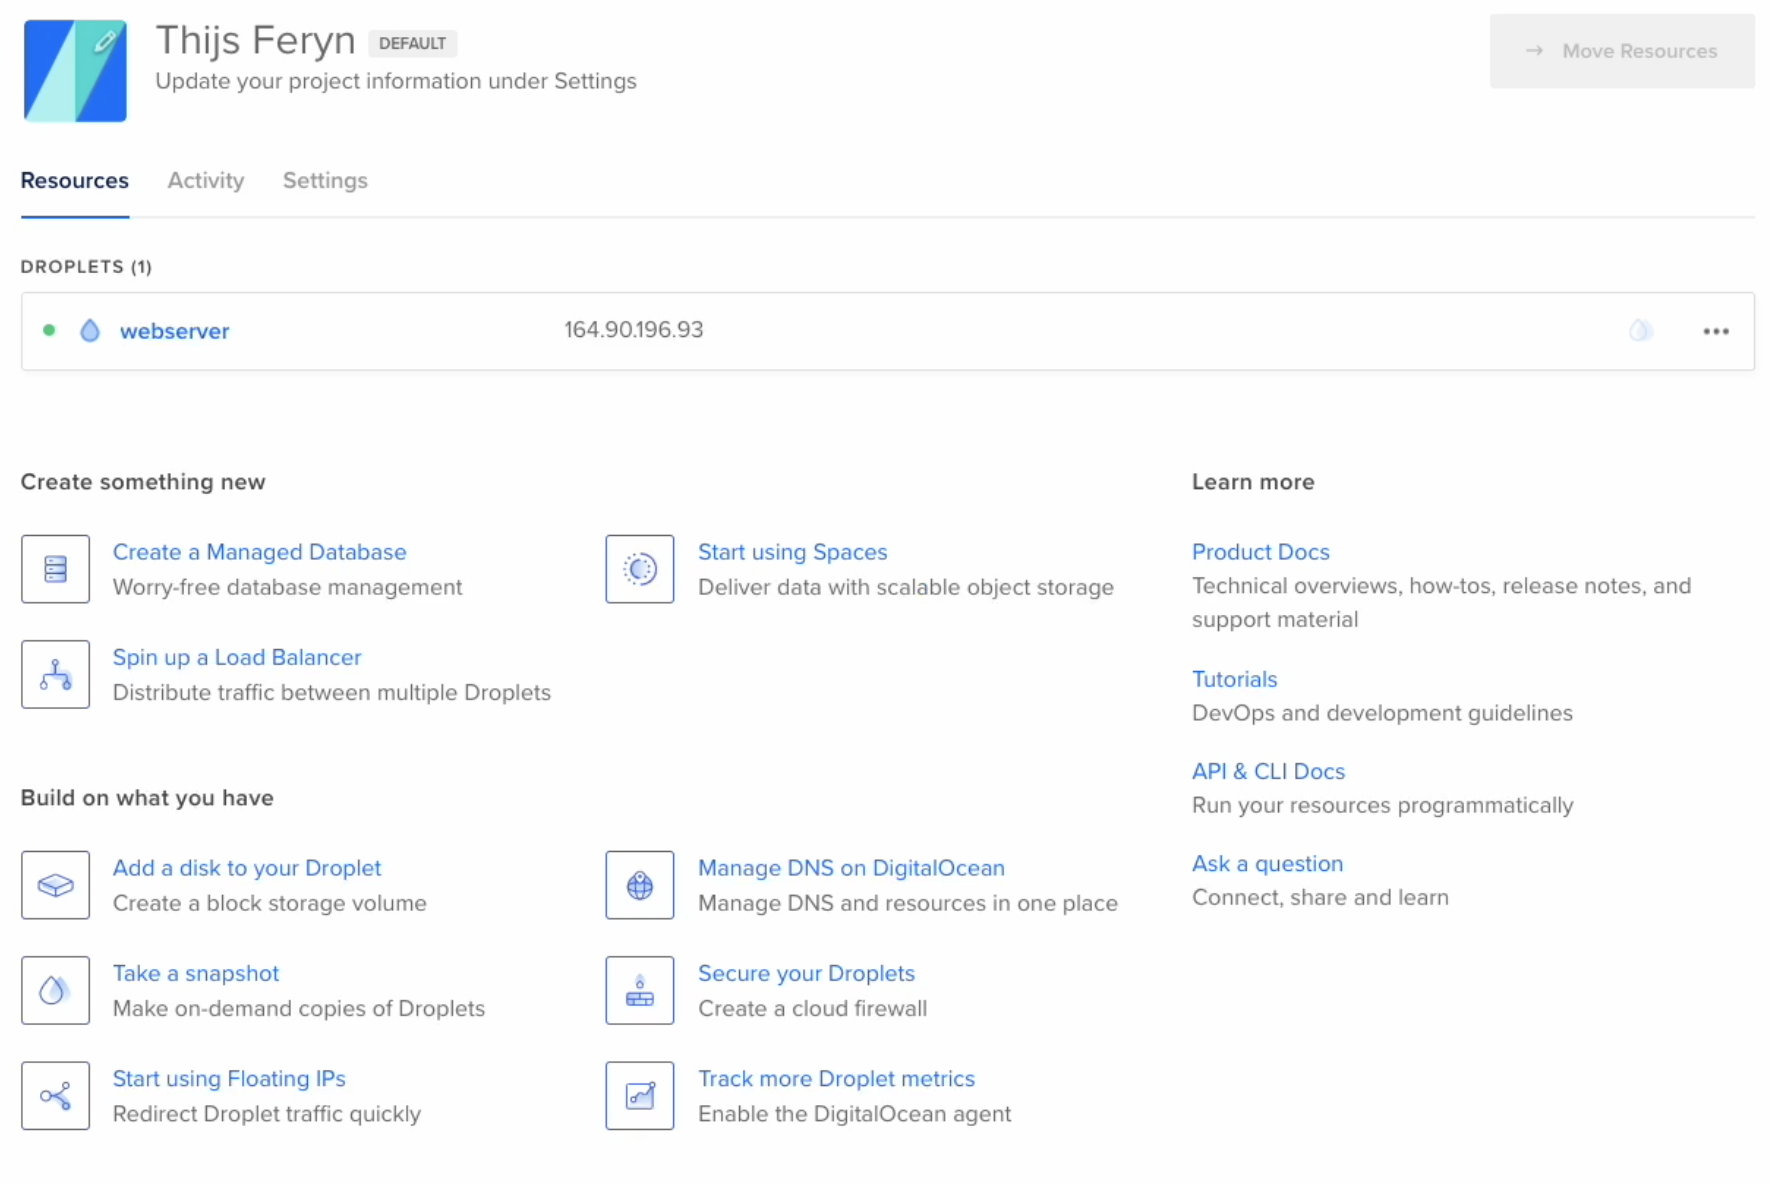
Begin in the Digital Ocean control panel, where you'll see an overview of droplets. You already have a web server that needs acceleration, so create a varnish instance by clicking 'create' and then selecting 'droplets'.
Instead of a regular instance, you're going to click 'marketplace' and search for Varnish. After having selected the Server image, choose the server architecture.
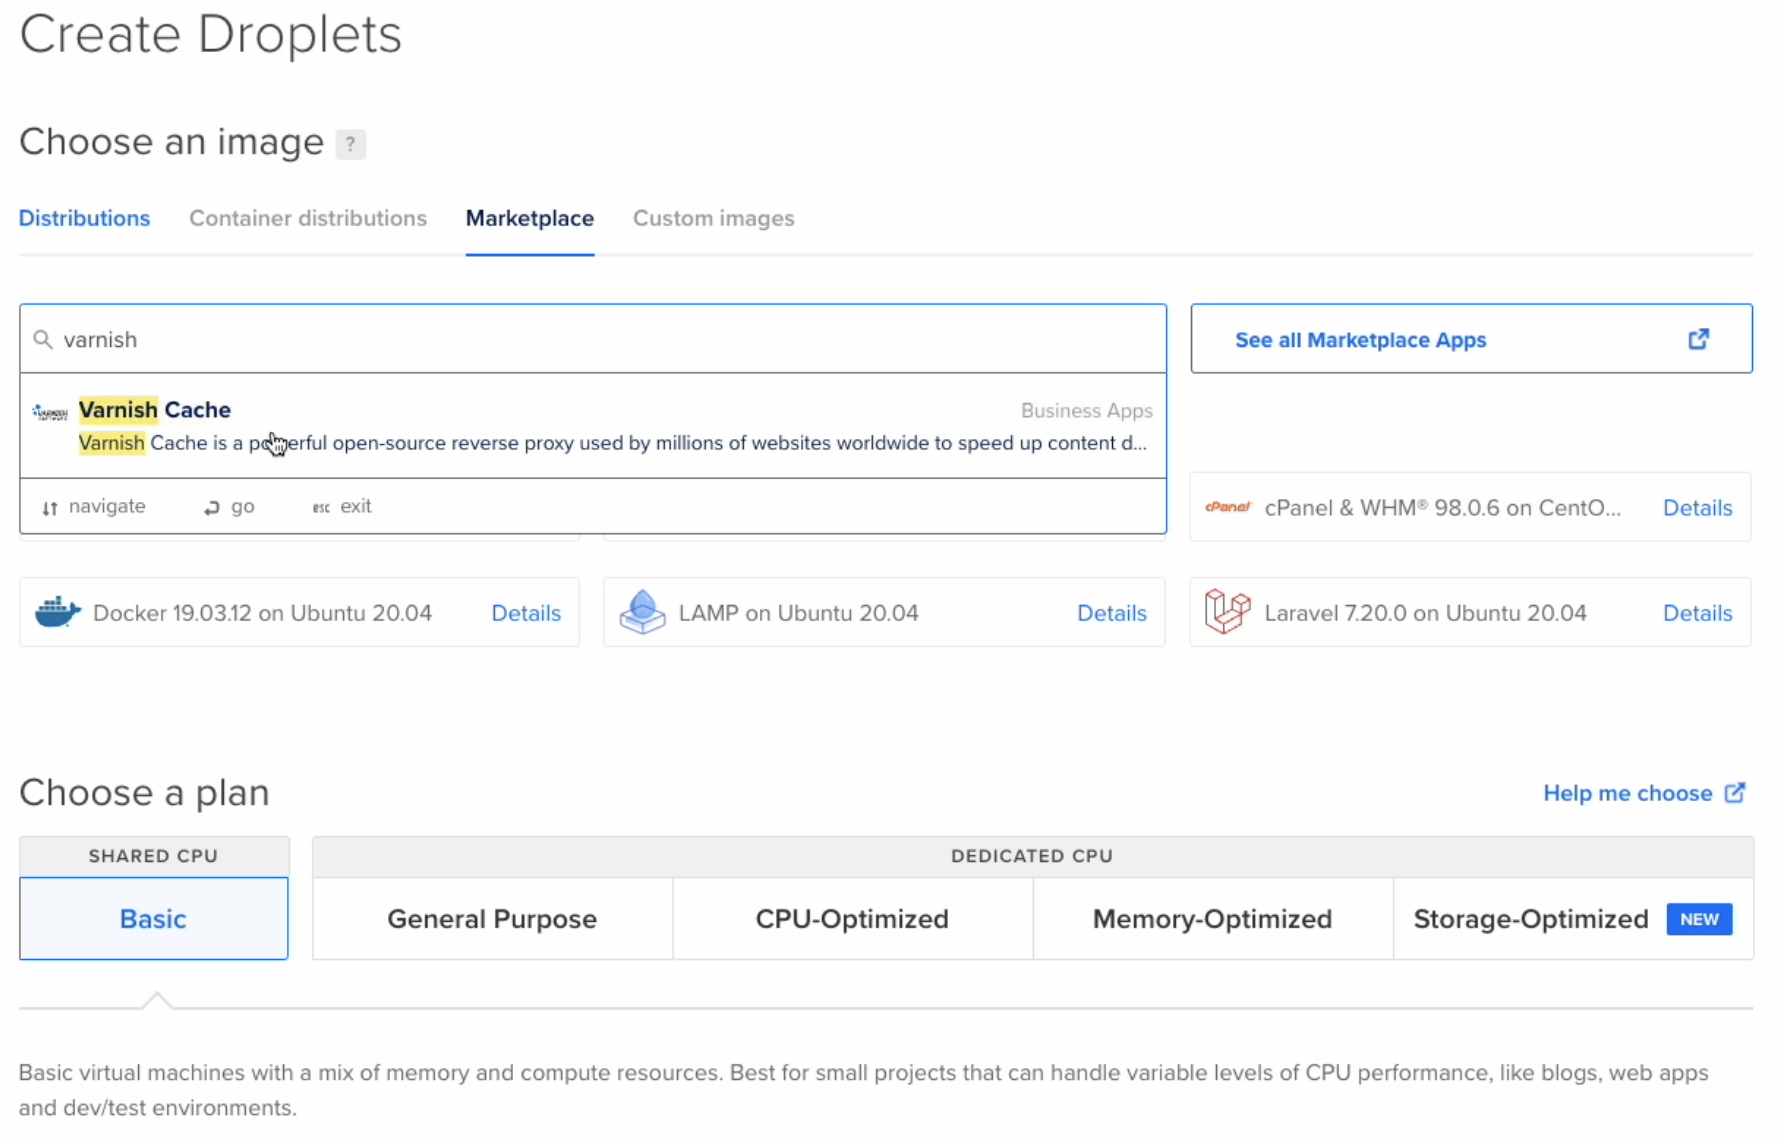
There are plenty of parameters that you can customize throughout the install wizard but for now, leave them at their default values. The only thing that you're going to change is the location of the server. There are also SSH keys to be configured to access the server via the SSH protocol. However, we've already pre-configured a key that you can use to log in.
Before committing to all these settings and starting the deployment of the server, you need to change the name of the machine. When you're done changing the name, select 'Create Droplets' and have the machine created. This takes a couple of minutes and after a while, you will see that the server appears in the overview. Finally, copy the IP address, open up a new browser window and paste the IP. This will take you to the landing page of Varnish.
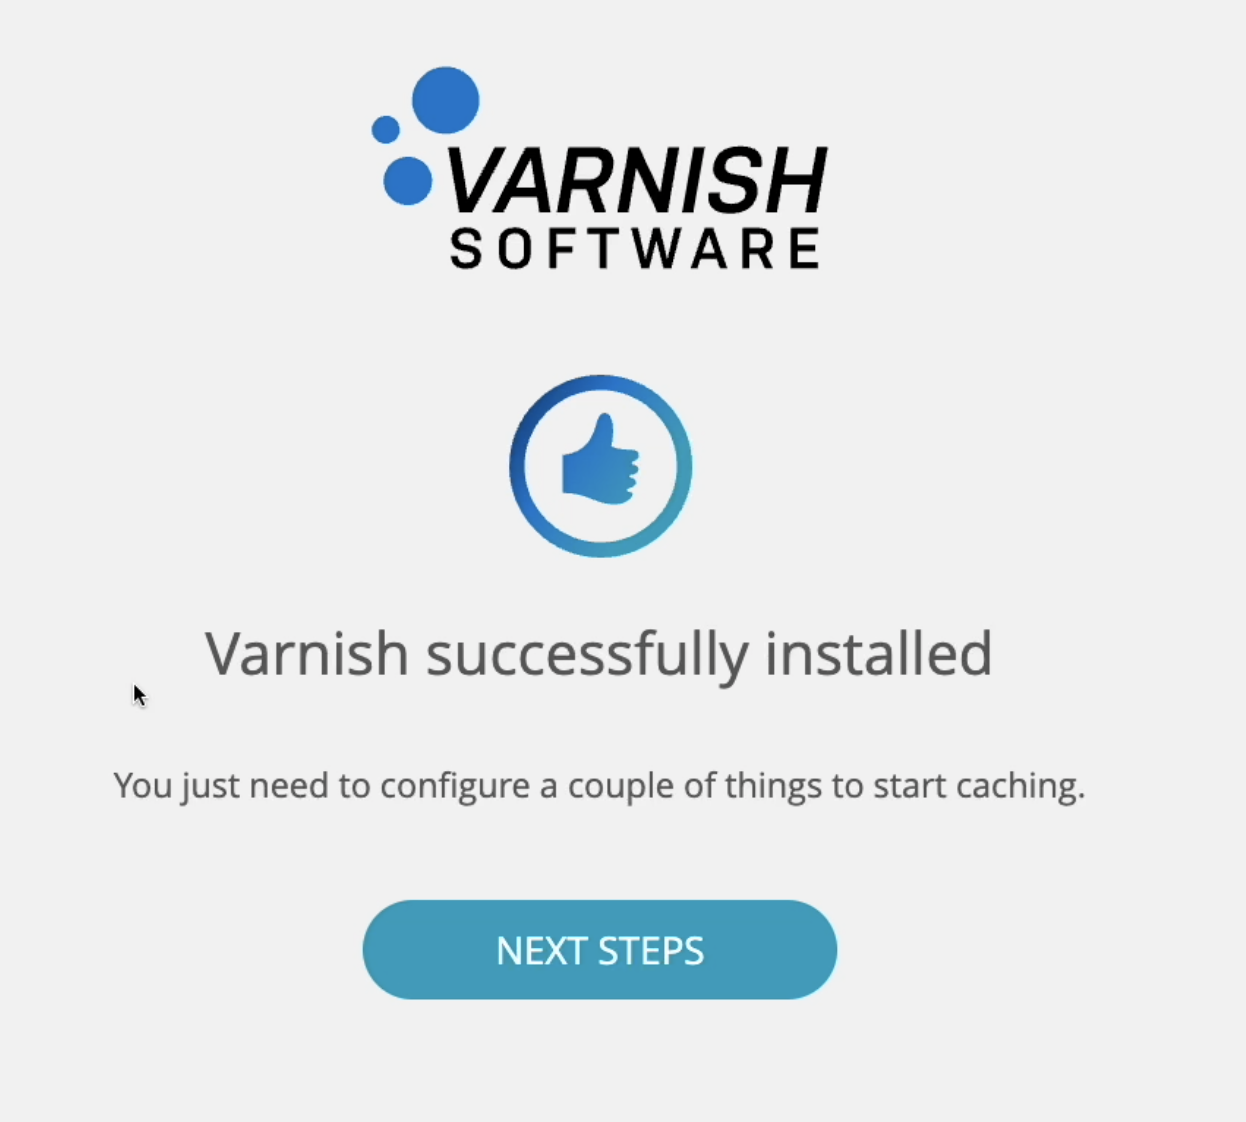
The newly created landing page has a link to the next steps. From here, we are going to access the machine via SSH.
Accessing the machine via SSH
Open up your terminal and type SSH, your username — which is root — and @ the IP address. Confirm this and you'll be in the shell, ready to make some changes.
The first thing that you're going to do is open up the VCL file. This is located in etc/varnish/default.vcl. You need to first remove a specific line that is responsible for displaying a landing page. You also need to modify the backend settings. These are the settings of the server we're connecting to.
sudo vim / etc/varnish/default.vcl
Save and close the file and then run sudo systemctl edit varnish. That opens up another editor which has the Varnish runtime parameters.
sudo systemctl edit varnish
Next, you'll need to change the allocated memory. In this case, from 256 megabytes to 2 gigabytes. Then run the final command, sudo systemctl restart varnish.
Finally, go back to your browser window and refresh the page. The landing page of Varnish will be replaced with the actual content coming from your web server that will then be stored in cache.
By using the free Digital Ocean image, you save valuable time and you have a ready-to-use, pre-configured Varnish server. We'll see you back next week for yet another video on more content about Varnish presented to you in two minutes or less. Can't wait another week? Check out our Developer Portal for more tips and tutorials.


